

The Asset Library is the new hub for all of your creative assets! Upload & organize your images, graphics, product shots, and messaging variants into their respective subsections, then tag those assets with the attributes that apply to them (with some help from our AI). Using those groups and tags, easily filter and find the assets you need to review the performance impact that they have on your advertising.
01 Uploading Images
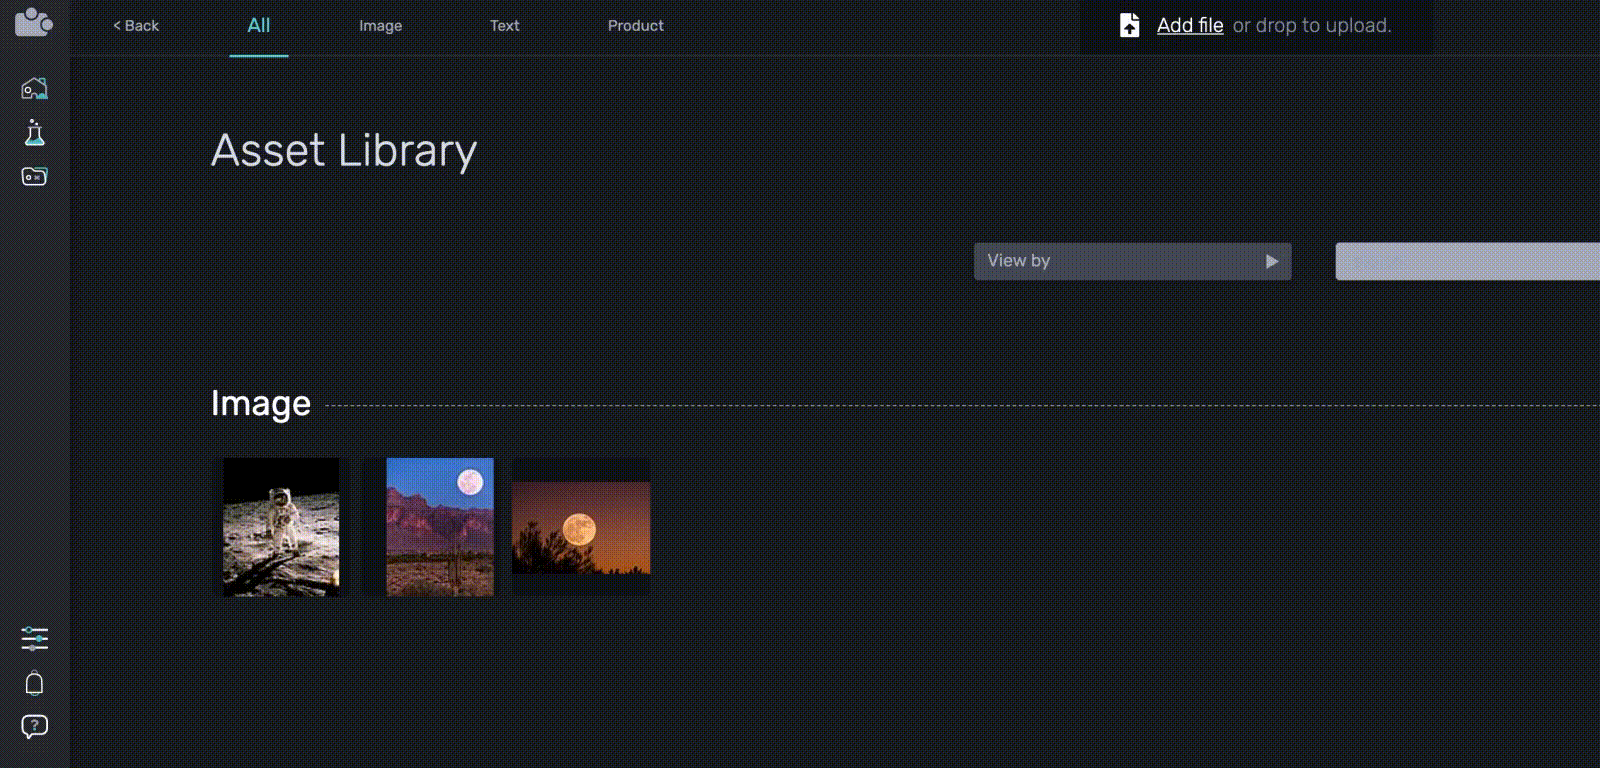
When you're ready to get started in the Asset Library, the first thing you'll want to do is upload Image assets! On the top navigation bar, you’ll see the titles: All, Image, Text, & Product. You can upload images in the All or Image tab.
To add images to your library, click “Add file” on the top navigation bar or just drag your files onto that box. When your upload is complete, just click the "clear" button in the uploader box to close the uploader. Your images are now in your asset library! If you need to remove any image assets click the X on the top right corner of that specific asset.

02 Creating Text Variants
Just like with images, adding text assets is easy! Within the Asset Library, you will now be focused on the section titled “Text”. You can create text assets in the All or Text tab.
To add text assets to your library, click “Add New Text Asset” under the Text section of your page - this will pop open a menu on your screen for text creation. First, write the name of your text asset in the Label and add a color to that asset based on the text type. We suggest matching text asset colors based on the type of text - for example, coloring all of your discount text assets green.
After you've named your text, write your message in the Text box below the label. If you want your copy to be displayed on one line in your ad, write it all in one box. If you want the message to have a line break at any point, add a second line and write them separately - the line breaks will be displayed in your creative as they are written. Repeat this process for all of the text assets that you want to use. If you need to remove one, just click the X on the asset in your library.
03 Focal Points & Image Tags
Your Asset Library should now look full of image and text variants that you can use to build out creative experiments. Before diving into ad creation, you’ll need to edit your image focal points and tag your assets. Focal points assist with responsive design when you are creating your experiment in the Ad Builder. Detailed tags will help you discover exactly what your audience loves and hates most about your creative.
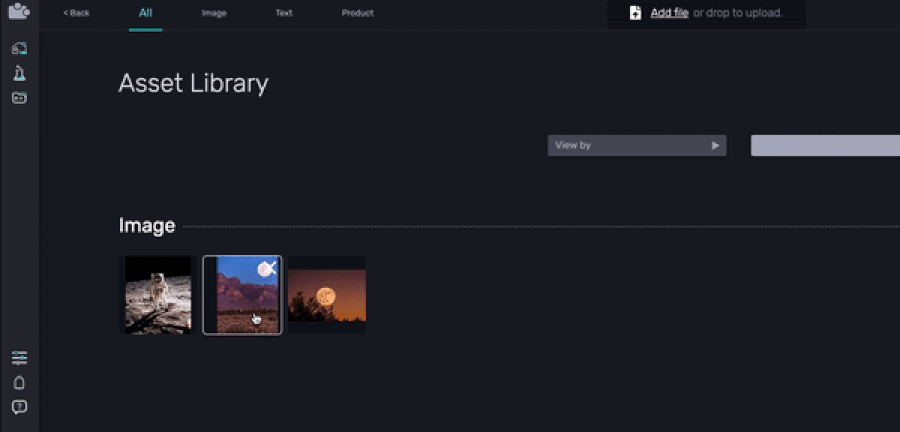
To edit the focal point of your images, you’ll need to select each image to open the editor in the right-side menu. The focal point will be the image’s center when you add it to your creative design in the Ad Builder. Setting this point on the part of the image that you think is most important will keep that point in the frame of that variable group when you are building your experiment.
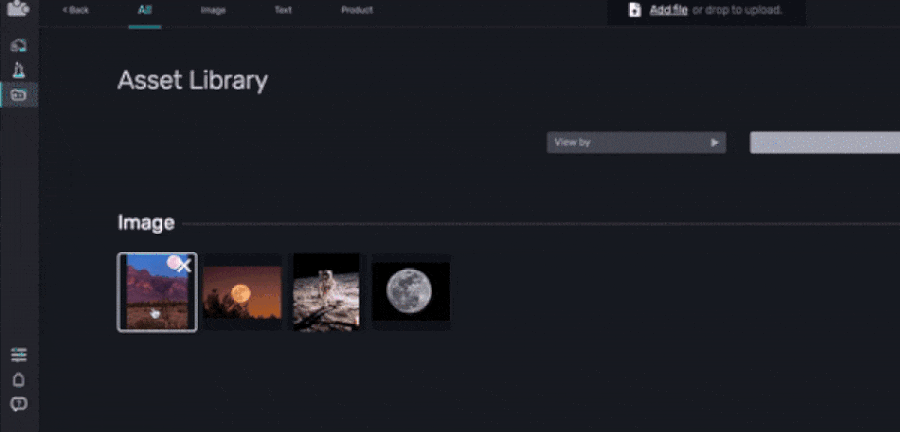
Within the same right-side menu, you're able to add tags to your assets! You’ll need to select each image and text variant one-by-one, then add tags to them in the right-side menu that pops open. You’ll see a box labeled “Add Tags”, and you might even see some tags underneath that box already (you can thank our AI for the help). Simply go through each asset and begin typing words that you think are relevant to that image or text variant. In the example below, the "Nature" tag is being added to the image that was selected.
04 Creating & Connecting Products
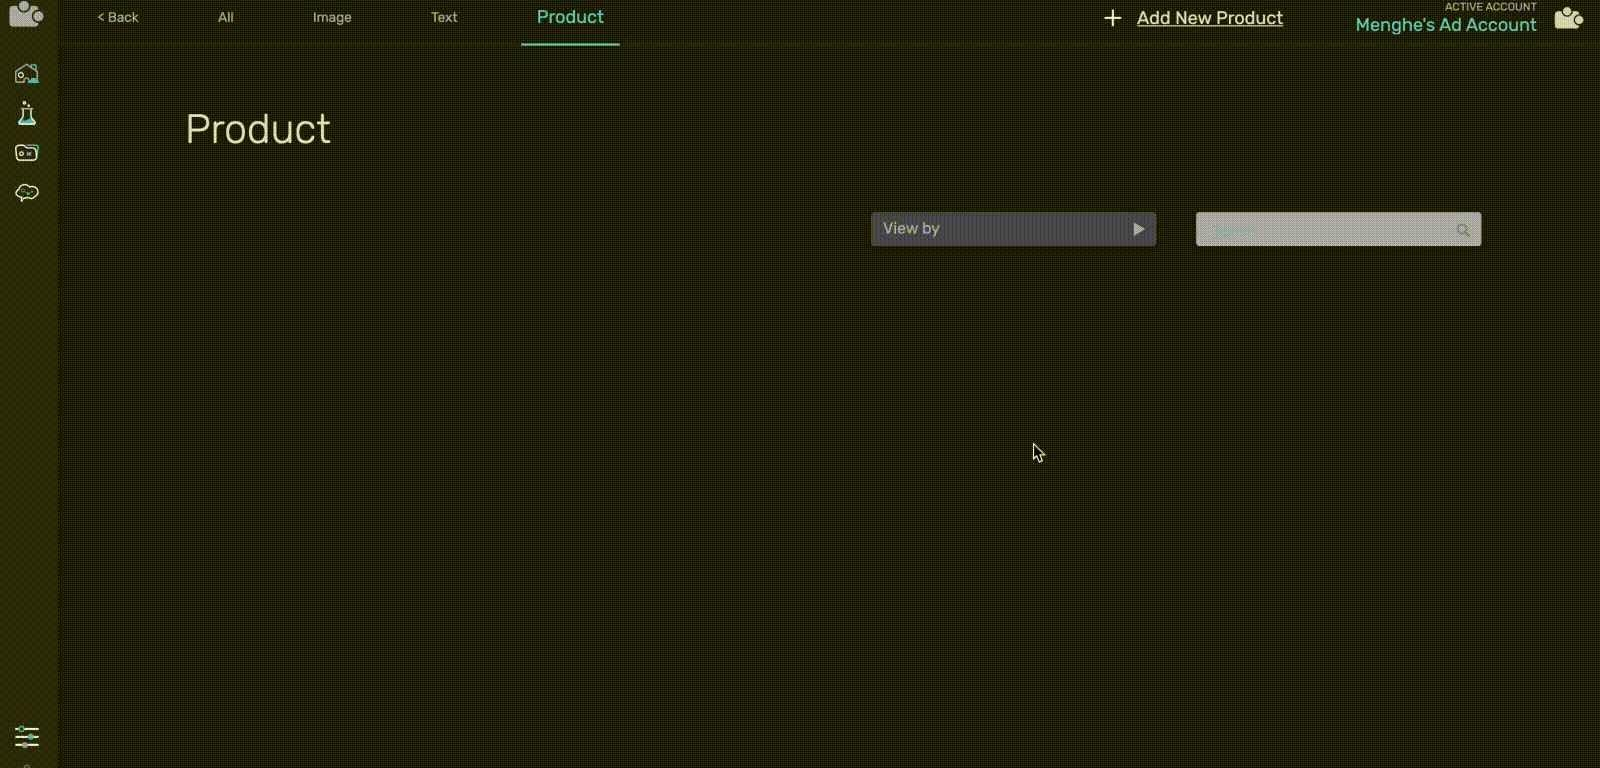
The last step in the Asset Library is creating Products. Products represent the actual items you’re selling within your image and text assets. You’ll need to create a new product for every product that you’re using in your experiments, then link that product to the correct images in your library.
After entering the Product section just click “Add New Product” in the top right corner and you’ll see a new product created. After you’ve created the product, click on it to open the right-side menu. In that menu you’ll be able to add the Product Name, Product URL, and Product Price to connect it to your actual product on your website (coming soon). After that, search for the respective images for each product in the right-side menu and add them to the product by selecting them. You can also link products to images by going back to the images tab of your asset library and opening up each image, then linking them in the pop up menu.
Now that you've added image assets, text assets, edited your focal points & tags, and created your products, you're ready to start building experiments! Go to the Experiments tab on the left-side menu to begin using the Ad Builder.